There really is no pain like stepping on a Lego with bare feet. If you are a mother of a toddler, you know this feeling too well. Sometimes, our house seems to be run by toys. The mess starts in the play area and slowly finds its way to every other room.
Working in Early Childhood education for years and being a mother of an active two-and-a-half-year-old, I know how toy organization can be a constant battle. When organizing your playspace, there are many factors to consider, from storing those tiny pieces to allowing your child’s imagination to grow during play as intended. Whether you have an entire playroom or a small nook in the corner, there are simple, easy ways to store and display toys to encourage new play, expanded play, and keep your feet clear of Legos!
6 Simple Steps to Creating a Toy Storage System
1. Create a Space

Having a designated space for your child’s toys is very important. It will help with the mess and make them feel like their play space is in control. Children who feel like their play area is orderly can play as intended. One way to create a designated space for play is to use a rug or play mat to help divide the area from the rest of the room.
Here are some of my favorite rugs/playmats to help with this step:
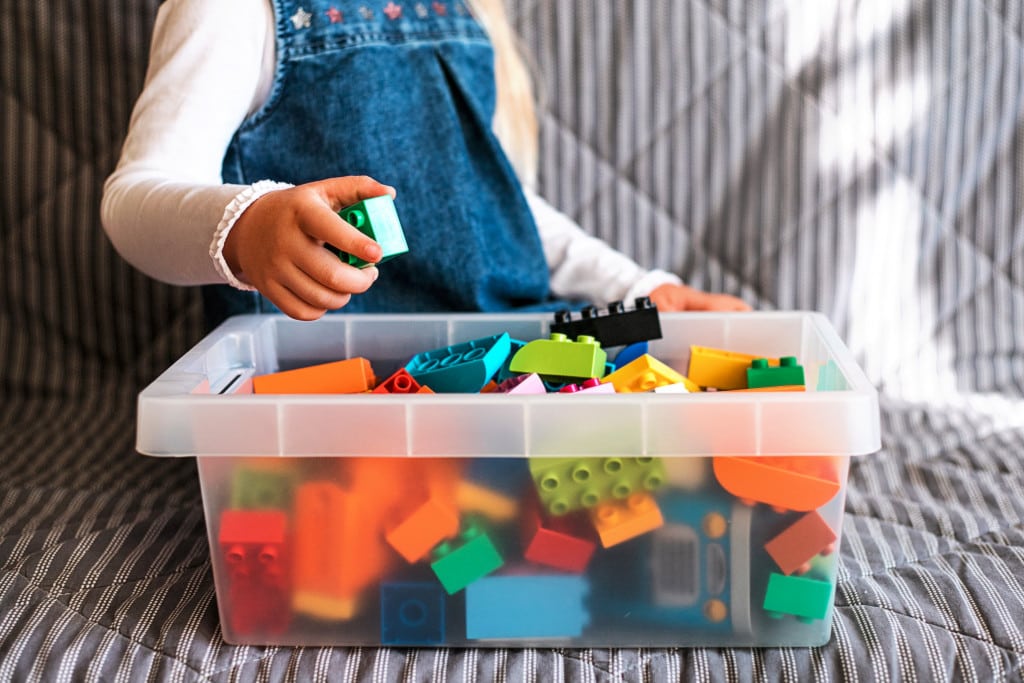
2. Designate Some Bins

Creating bins for each type of toy is the best toy storage solution. It helps keep each kind of toy organized. It also allows for that toy to be transported, so if your toddler wants to play with blocks on a tabletop, they can simply transport the bin to the table in a smooth transition. Bins also act as a dumping act for small toddlers; this is okay! Dumping is a pivotal part of play development, and the good thing is, once they dump, they can fill that bin right back up (aka clean up)! Some areas do not allow for a shelving unit and a table. This is when I would recommend having an activity table with storage. It is the best of both worlds.
There are so many bins and storage systems on the market today. Here are my favorites for small or large play spaces:
3. Mesh Bags for Small Pieces
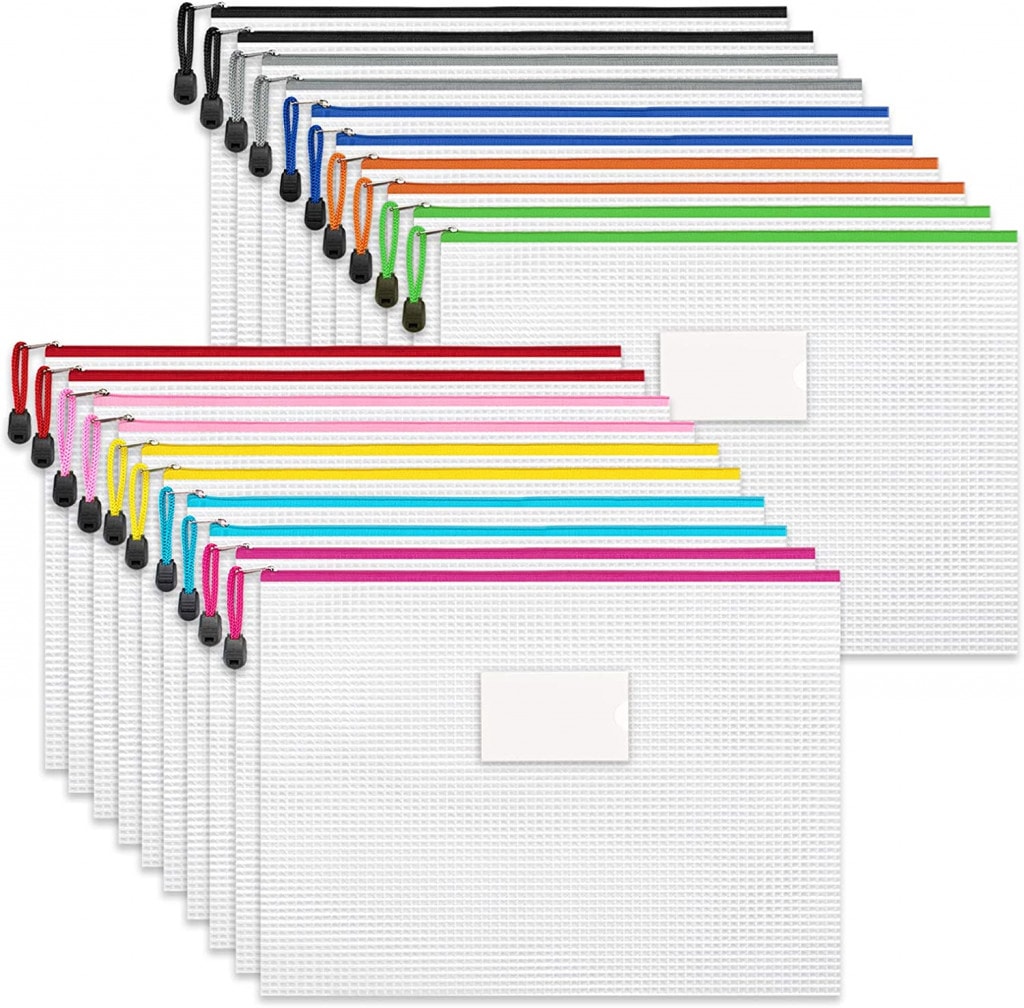
Large bins help with bulk toys, but those small pieces or puzzles can be hard to store. My favorite solution for this is to use mesh bags! They are great to keep small pieces in and sort them as well. Ditch the puzzle boxes; put the pieces in one of these bags with a cutout of what the puzzle should look like! This kind of storage allows easy access and takes up less space. Another storage solution for these pieces is small clear bins with compartments. This way, your child can easily see what they are looking for before dumping the entire container.
Here is a list of my favorite storage bags and bins to tackle this storage dilemma and help those tiny pieces not to get lost:
- Mesh Storage Bags with Label Pocket
- Creative QT – SlideAway Toy Storage Organizer & Play Mat for Kids
- Bins & Things Toy Storage Case
- Clear Plastic Organizer
4. Display Your Books
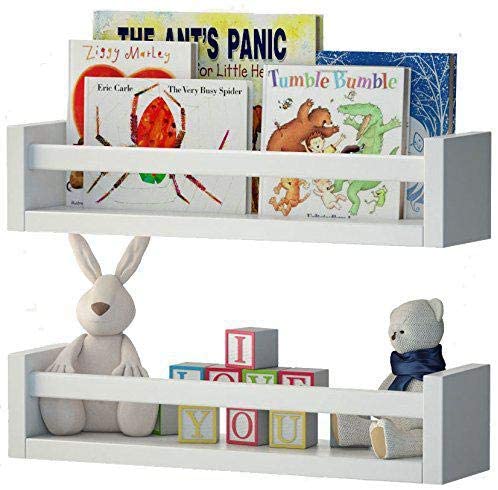
Introducing books to your little ones in their play area is so helpful with development and can help encourage play. Just remember, most children will “read” between 4 and 6 books a month independently, so limit the amount in their play area. If you are able, store them with the covers facing out. Looking at the covers will encourage them to discover what is inside.
You can easily display your books with wall bookshelves, which is much safer than a bookshelf that could topple over. Here are my favorites to choose from:
5. Start a Toy Rotation
Children can become just as overwhelmed as we are with all the toys. Limit the number of toys that are available to play with. This will allow for toy and book rotation once a month. Rotating new items has been shown to help encourage new play, create new skills, and increase independent playtime.
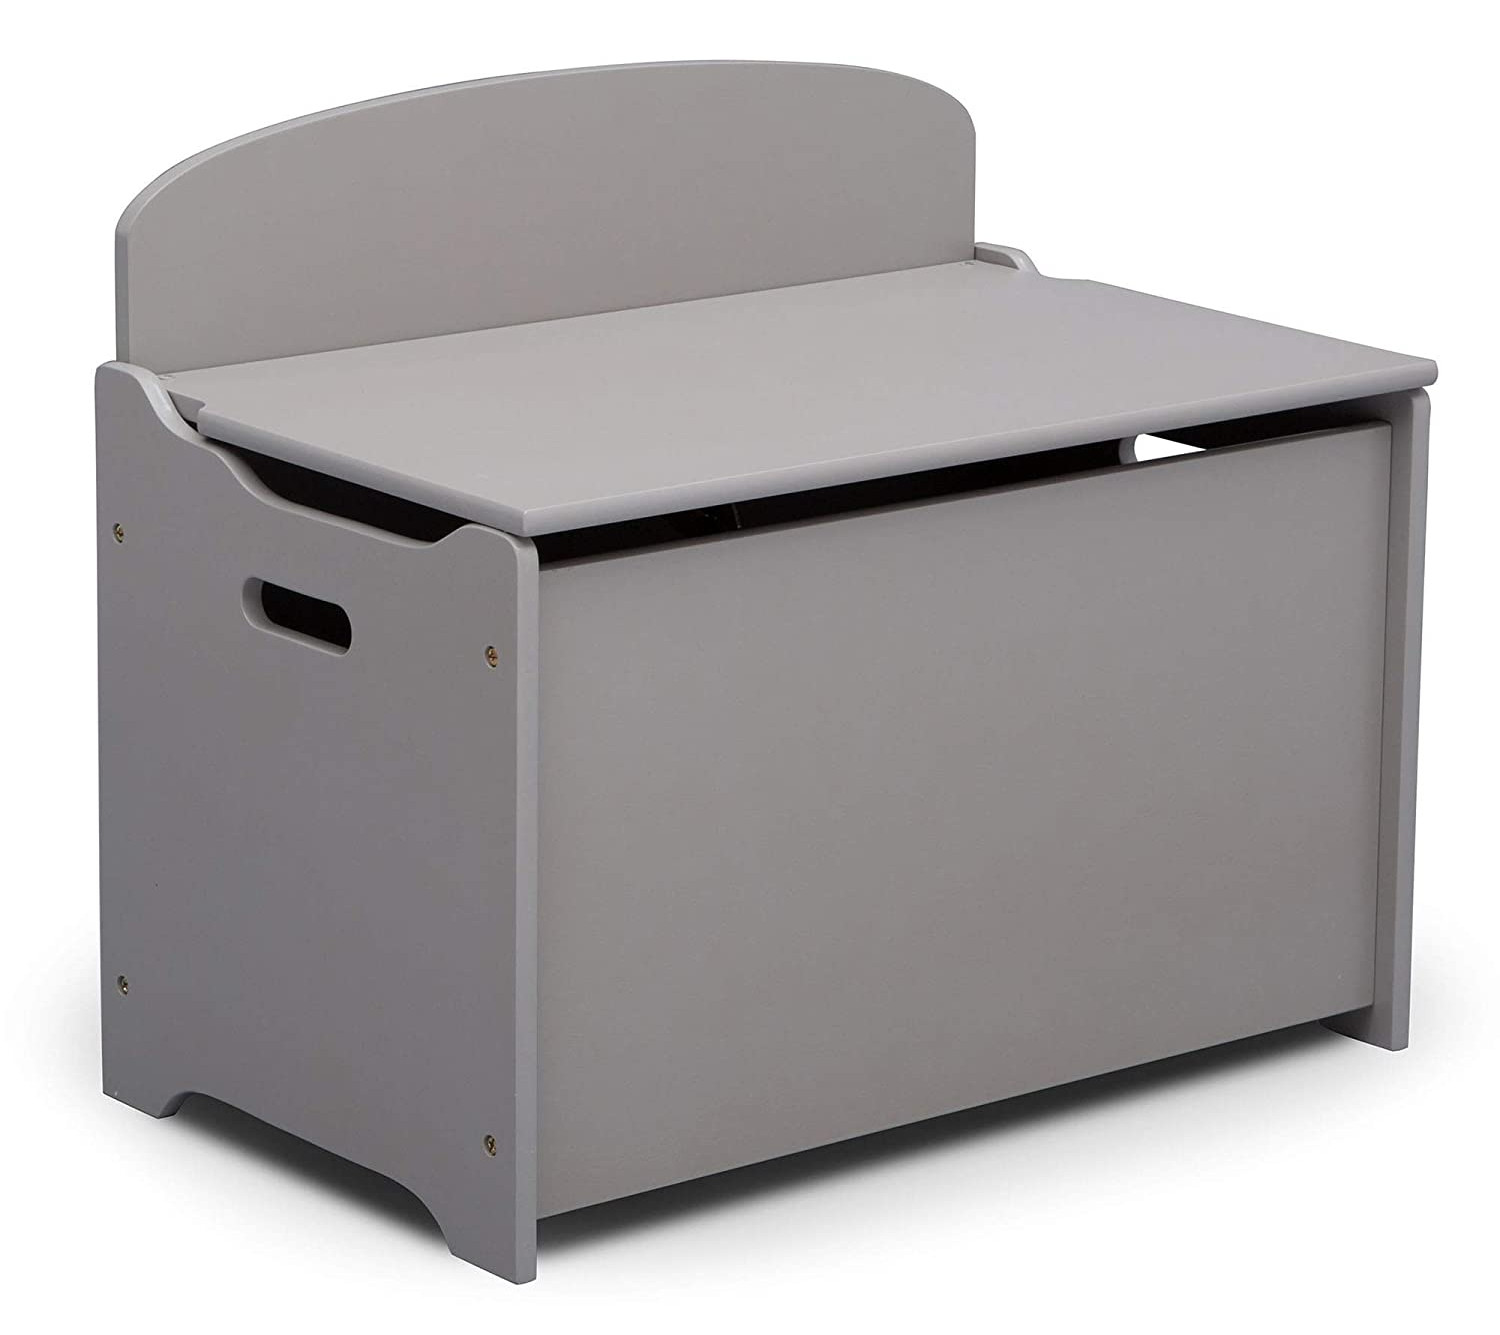
If you plan on rotating your toys, you need a good storage solution when they are not used. We use a toy box, which has worked perfectly for our family. Another option is creating an organized toy closet that is off-limits. Here are my favorite products to achieve both of these options in limiting toy access:
6. Create Picture Labels
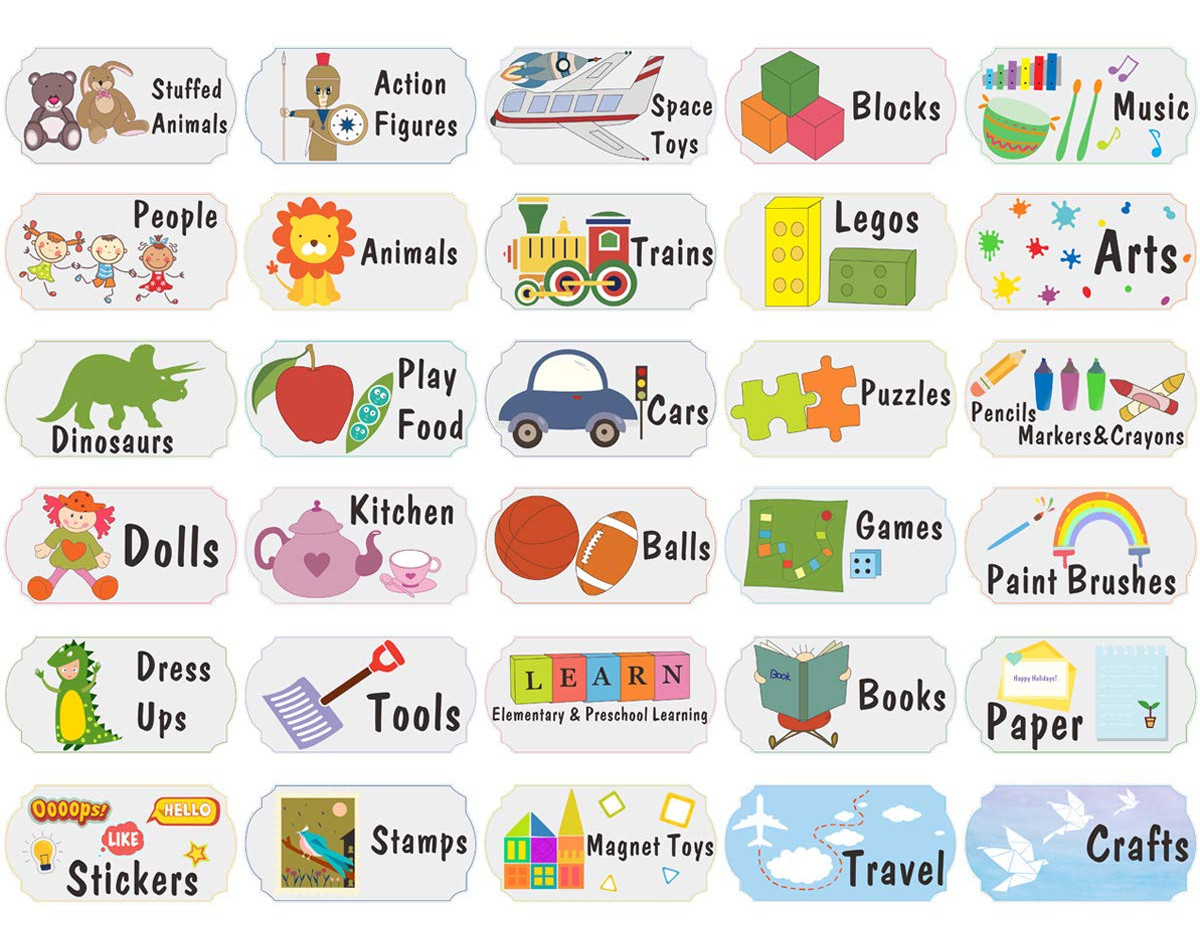
If you have a child who has a hard time cleaning up or remembering the spots you have created for their toys, create labels to help guide them through this process. Each label should include a picture of the toys and the toy’s name printed out. This will help your child match the picture with the bin of objects and eventually learn how to spell or read the type of toy.
Some label systems have done the work for you, and others can be more personalized. Here are my favorite label systems that I have used in the past:
Creating an organized play space will help you feel more at ease and encourage your child to play more independently and purposefully, leaving you with less clean-up and more time to enjoy the little things!